Monday, December 3, 2012

DIY Car Trash Bag

I don't know about you, but my car tends to gather trash . . . quickly. I wanted something to hold my trash in the car that would be cuter than say, a plastic grocery bag. Despite the length of this blog, this DIY duct tape trash bag is actually quite simple to make, and probably only takes 20 to 30 minutes! 

What you need: 
1) Straight edge (a ruler would be better, but a children's book worked just fine for me!)
2) Stapler
3) Duct tape (JoAnn's has a ton of duct tape with cute designs...like the cheetah print one)
4) Doggy Bags
5) Scissors
6) Tissue Paper
7) Index Card (but if you have a ruler, that will work better)


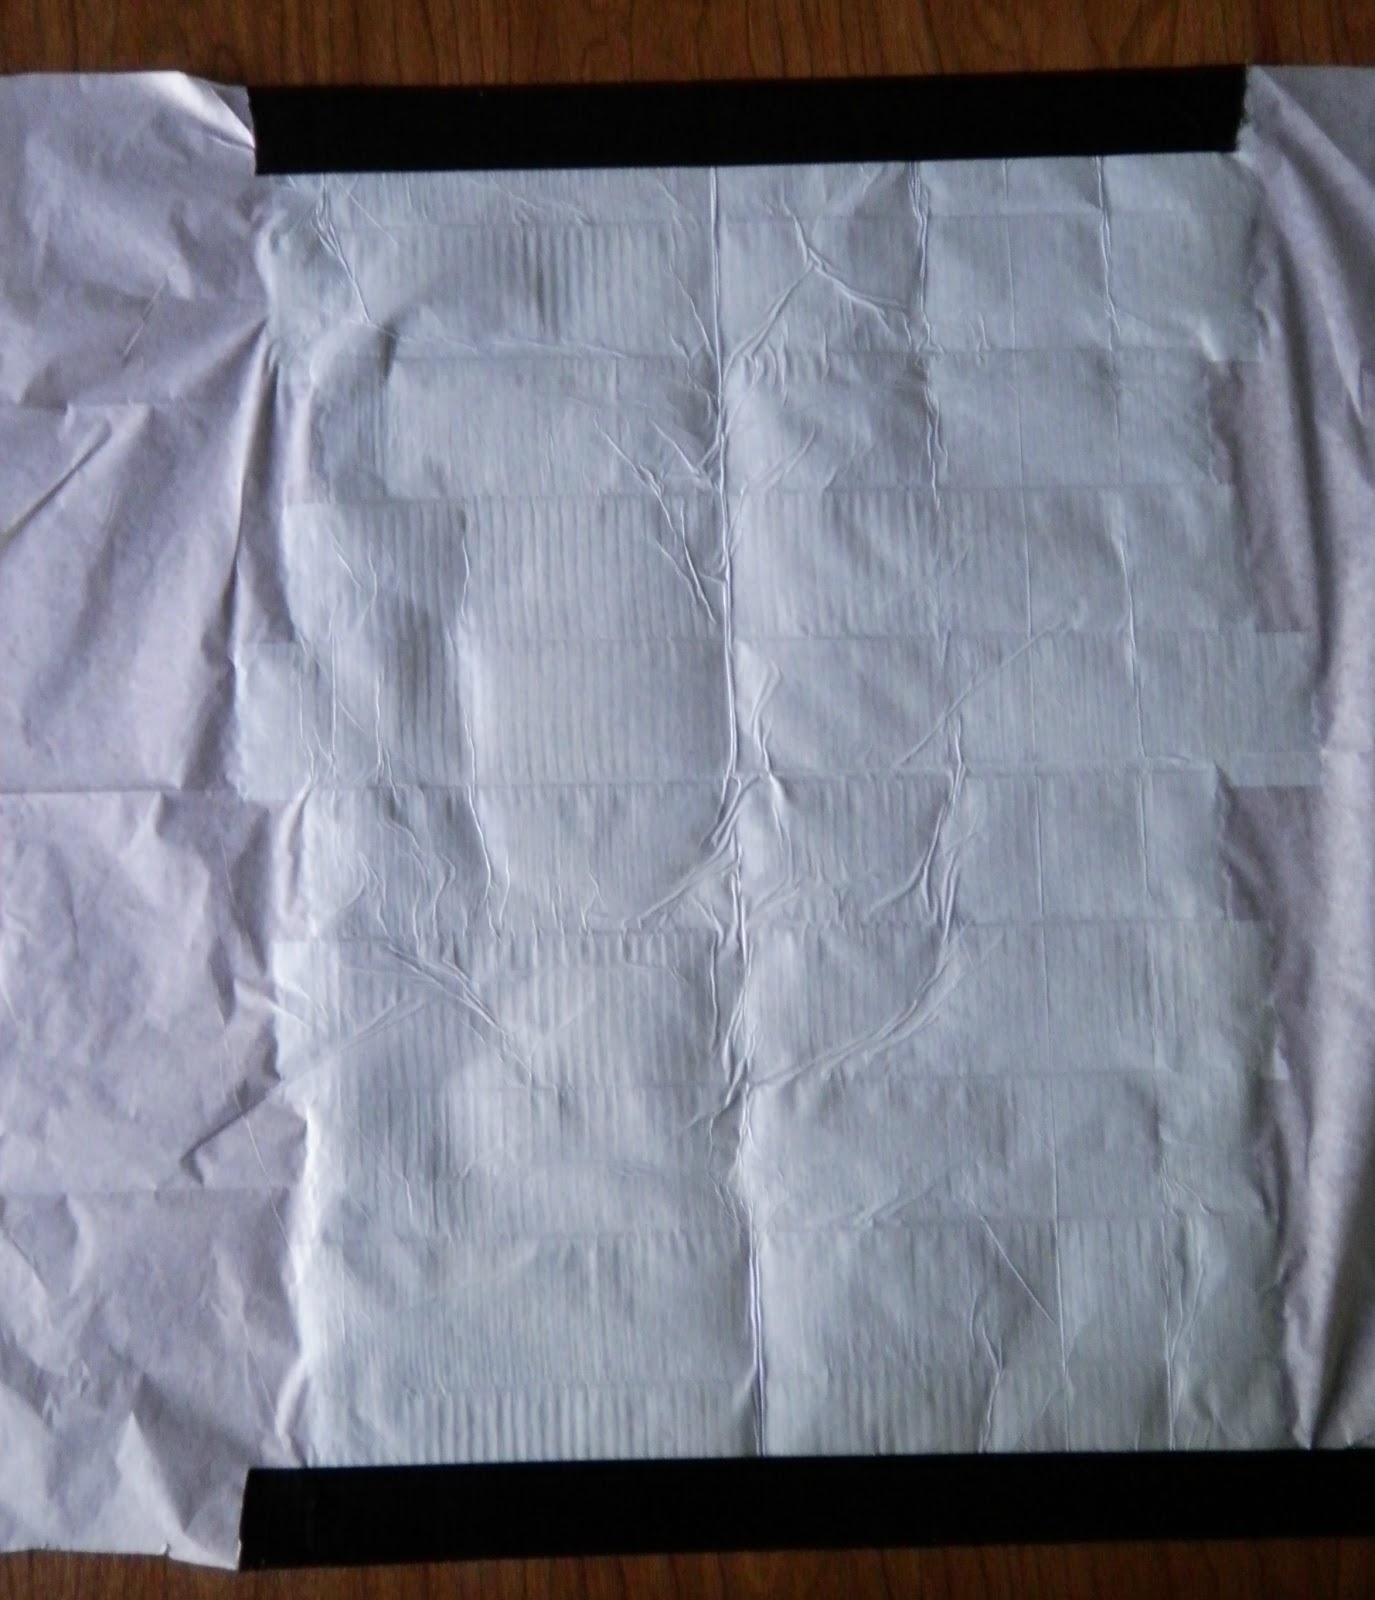
Step 1: Smooth out your tissue paper. I think my tissue paper was probably 18" square. 
 Step 2: Begin placing strips of duct tape (if you're making bag with printed duct tape, use that here) at the bottom of the tissue paper, and continue until you reach the top of the tissue paper. The strips should be about 12" in length. 

Step 3: After you have finished laying the duct tape down, trim any extra tissue paper off of the top and bottom. 
Step 4: Lay a piece of 12" duct tape on the edge of the tissue paper, so that only half of it is actually covering the paper. If you're wanting to do a contrasting color for trim, use that here. 
Step 5: Fold the other half of the duct tape down on the back side. This creates a smooth top edge. Repeat on the other end. 

Step 6: As you did in the beginning, lay pieces of duct tape down on the tissue paper. This will reinforce the bag and make it a little bit sturdier, and easier to clean if any liquids are spilled in it!
Step 7: Now it's time to make the handle! I like mine to be big enough that I can slip it over the gear shift in my car. My mom likes hers to be a little bit longer so she can hang it over the back of the headrest. For the gear shift handle, tear off a piece of duct tape so that it is about 10" long, then fold it in thirds as shown below. 
Step 8: Overlap the ends of the handle, and place them just below the top of the bag, on the inside! Then put a small square of duct tape and place it over both ends of the handle. 
Step 9: Fold the bag in half, with right sides together.
Step 10: Use your index card (or ruler) as a guide for where to place your straight edge. Measure from the center of your handle, so that it's even on each side. Then, place your straight edge accordingly and carefully cut a line. Repeat on the other side. 
Step 11: Staple down each side of your bag to close the sides, in as STRAIGHT a line as possible. (Please excuse the chipped nail polish!)
Step 12: This part is a little difficult to explain, but once you do it you'll understand! Reach inside the bag and push out a little triangle on one side of your bag, and press is down to flatten it from the outside (Top Left). Then, using a cut off section of your index card, measure a small distance in from the tip, and create an imaginary line where you will staple across (Top Right). Mine was about 2" in from the tip. Then staple across, in as straight a line as possible (Bottom Left & Right). Repeat on the opposite side. 
Step 13: Now, fold in your little triangles so that they are flat against the bottom of the bag, and tape down. This will give your bag a nice rectangular/square shape. 
Step 14: Turn your bag right-side out and place a doggy bag in it! I like to keep the rest of the roll of doggy bags in the bottom of the duct tape bag, but anywhere inside your car would work well too! The plastic doggy bags are the perfect size and fit really nicely inside the duct tape trash bag. Slip the handle over your gear shift and never worry about trash filling up your car again!

XO, Lindsay


Wednesday, November 14, 2012

A Handmade Holiday

I always like to give my family members sentimental gifts. . .gifts they'll remember forever. My favorite way to do this? Handmade and from the heart. One Mother's Day I gave my mom a little mason jar filled with ripped up pieces of Post-It Notes, with reasons why I love her! It was by far her FAVORITE (okay, so maybe I'm a little biased) gift she had gotten. It made her cry! That's the symbol of a great gift, right? I'm here to share with you what I'll be *making* for my family for the holidays! 

For my mom. . .I'm making a book, similar to the mason jar I've already given her, titled "50 Reasons You're the Best Mom a Girl Could Ask For" and I used www.mixbook.com to create this book. If I had tons of pictures, I would add them in too. . .but sadly, I don't. That's another story all together. It's basically a book (that would look awesome on our coffee table) filled with reasons she's made my childhood better than I could have ever wished for. Here's a screen shot of the cover: 


Cute, right?! The pages inside have similar borders, and I think the black, white, and pink is very chic. 

For my step-dad, I'm planning on putting together a date night basket, either with several "little" dates or one "big" date. It'll either be filled with gift cards to different restaurants in town, or I'll do a dinner to a nicer restaurant and a gift certificate to a hotel--with five kids running around the house, they deserve a break. What do you normally give to step parents?

My little brother is getting a "Get Out of Jail Free" book. . .I've picked some places in town that he's mentioned he really wants to go. . .like indoor cart racing, or the movies. . .along with little getaways like an afternoon trip to the library, or donuts for breakfast. I used the software on my computer, Print Master, to make this. I really love the font!


My little sister, Alyssa, and I always say "Elephant Shoe" to each other. Did you know that it looks like you're saying "I Love You" if you just mouth the words? That's why we do it! Somehow we got into the habit of doing that and then winking at each other. . .yeah, we're a little weird. Anyway, for her Christmas gift I'll be making elephant shoes! Well, slippers actually. I'll post the pattern for them once I make them, along with an in-depth tutorial. I'll also be making her an elephant sleep mask, hopefully with one eye winking. . .we'll see how that turns out. 

My other sister is getting a headband holder (literally she wears headbands EVERY day) with an assortment of different colored headbands so she can match her headband to every outfit! I got the idea for the headband holder from this Pinterest pin: Headband Holder from Oatmeal Can and I just love how feminine and girly it will look in her room! I also love that she'll be able to store hair brushes and hair ties on the inside. 

I'm still trying to decide between a quiet book, and an MP3 player with audio recordings of me reading to him. . .I'm not entirely sure how to do the latter, so I'll likely go with the first. He's a bit old for a traditional quiet book, so I'll have to adapt mine to be more of a quiet "activity" book. I'll post pictures of that (maybe even a tutorial for that?) when I get it made. What do you include in your quiet book? I will definitely be including a shoe-tying page!

I hope this post didn't bore you too much, and I hope to have given you some handmade holiday ideas for your family! Let me know what you like to give your family for Christmas! Giving is such fun :)